In this article, you will learn 3 different ways to Drill Through in Power BI. Drill through is used to navigate different pages within the report with the filter of selected data point like Supervisor, supplier, customer, or manufacturer.
Learn how to create drill through page in Power BI report
3 ways to use the Drill Through in Power BI-
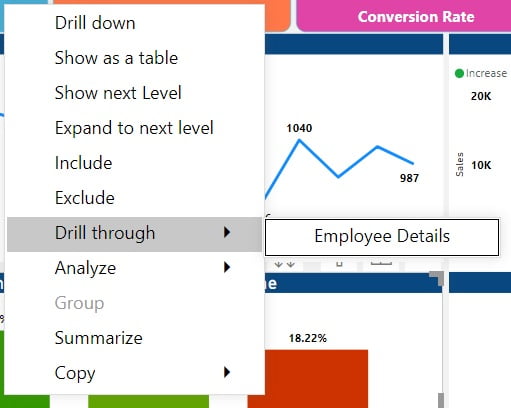
1: Right Click on the data point:
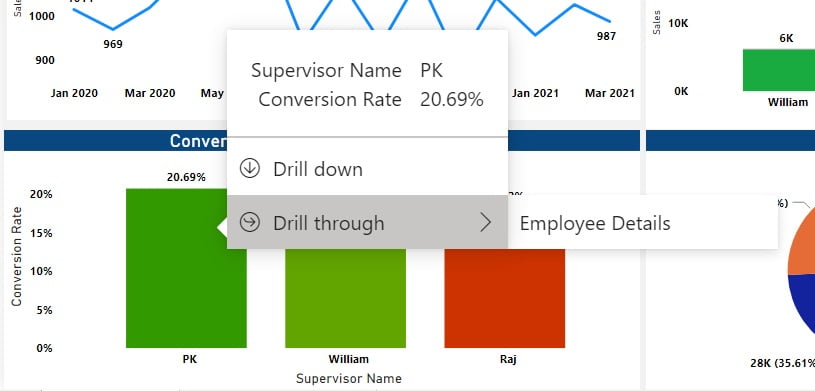
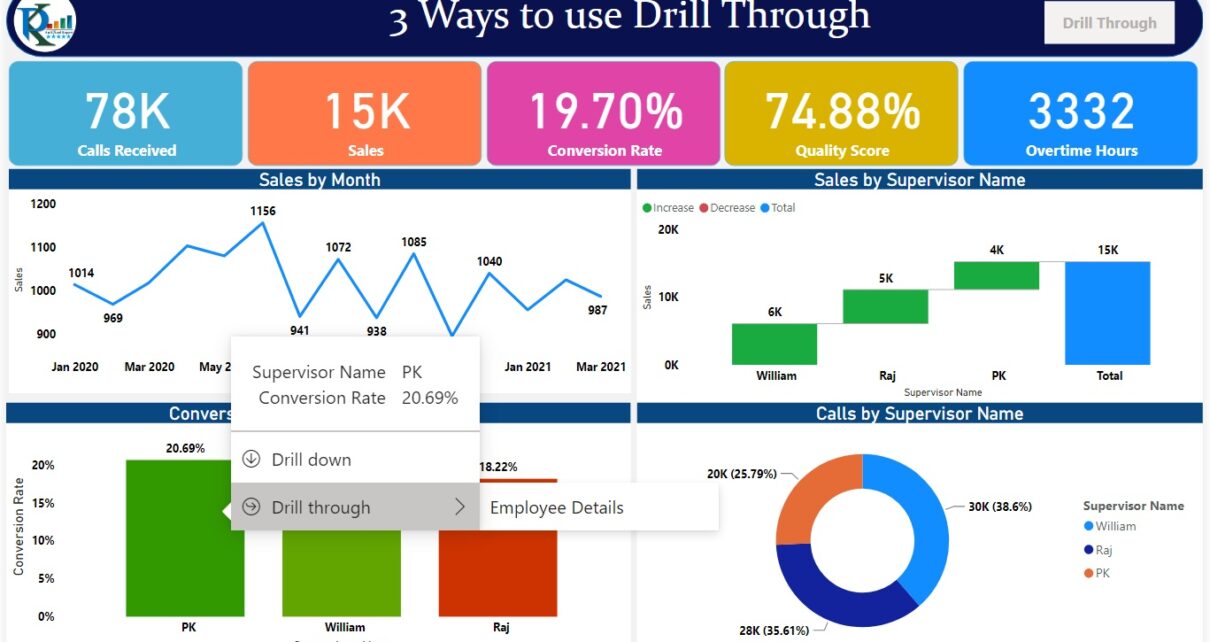
After creating the drill through the page in the Power BI, drill through in the Power BI, you can right-click on the data point then go to Drill through. It will show all the report pages name wherein drill through has been used for that point. You can select the page which you want to navigate.
2: Use Button to Drill through:
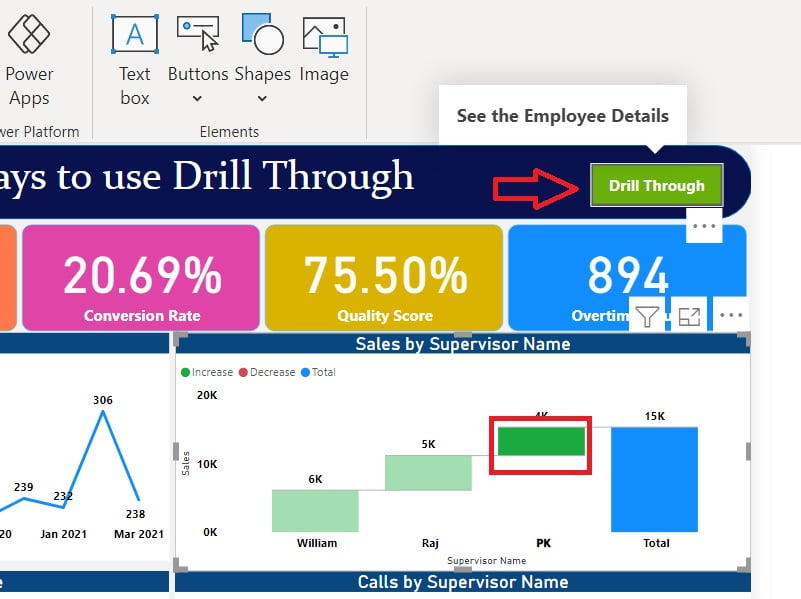
We can use the button also to use the drill through for selected data points. First, we have to create the drill through page then follow the below steps-
- Insert a blank button from the Insert menu
- Select the button and Format button pane.
- Go to the Action and On it
- Select Drill through in the Type
- Select the report page name in the Destination drop-down
- You can put some enable and disable tooltip if you want.
Now you will select a data point and click on this button, it will take you to the destination page.
3: Use Modern Tooltip:
Power BI has launched their Modern Tooltip in May 2021 Version. It is in Preview Features in this version. Just enable it from the File>> Options and Setting >> Options >> Preview Features >> select Modern Visual Tooltip
You need to restart the Power BI desktop application. Now open your report and again go to the File>> Options and Setting >> Options >> Report Settings >> Modern Visual Tooltip and check the “Use modern visual tooltips with drill actions and updated styling”
Click on OK
Now if you will hover on a related data point, it will show drill through the button on the tooltip.
