In this article you will learn how to create a Personal Macro in MS Excel. I have created this personal macro to format the data Quick Data Formatting. Any macros that is stored in your personal workbook become available whenever new excel opened on that same computer for the same user.
To create a personal macro first of all we have enable the Personal.xlsb in Visual Basic Editor. Below are the steps to enable the Personal.xlsb in Visual Basic Editor-
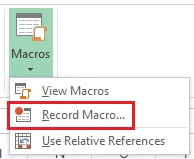
- Go to the View Tab>>Macros>>Record Macro..
Quick Data Formatting
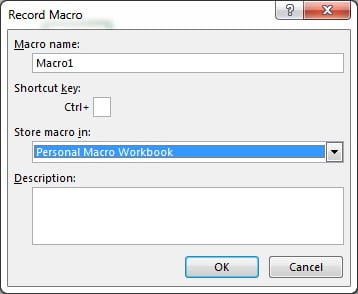
- Record Macro window will be opened.
- Select “Personal Macro Workbook” in Store macro in drop-down.
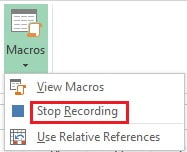
- Go to the View Tab>>Macros>>Stop Recording.
- Now press Alt+F11 to open Visual Basic Editor.
- Personal.xlsb will be available in VBE.

- Macro1 is available in Module1
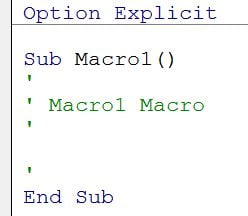
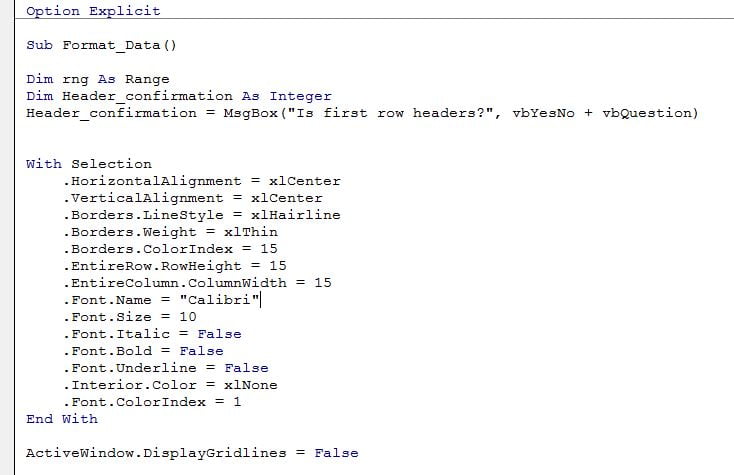
- Delete the entire code available in Module1 and copy below given code.
Option Explicit
Sub Format_Data()

Dim rng As Range
Dim Header_confirmation As Integer
Header_confirmation = MsgBox("Is first row headers?", vbYesNo + vbQuestion)

With Selection
.HorizontalAlignment = xlCenter
.VerticalAlignment = xlCenter
.Borders.LineStyle = xlHairline
.Borders.Weight = xlThin
.Borders.ColorIndex = 15
.EntireRow.RowHeight = 15
.EntireColumn.ColumnWidth = 15
.Font.Name = "Calibri"
.Font.Size = 10
.Font.Italic = False
.Font.Bold = False
.Font.Underline = False
.Interior.Color = xlNone
.Font.ColorIndex = 1
End With

ActiveWindow.DisplayGridlines = False

If Header_confirmation = vbNo Then Exit Sub

Dim cel As Range
Dim c1, c2 As Integer
Dim r As Long

For Each cel In Selection
c1 = cel.Column
r = cel.Row
Exit For
Next

c2 = Selection.SpecialCells(xlCellTypeLastCell).Column

With Range(Cells(r, c1), Cells(r, c2))
.Font.Bold = True
.Interior.ColorIndex = 23
.Font.ColorIndex = 2
.Font.Size = 11
End With

End Sub
- After pasting the above code in Module1, click on go to File menu in VBE and click on Save PERSONAL.XLSB or press Ctrl+S in Module1.
Now we will give shortcut key to run this macro.
- Go to the excel worksheet and press Alt+F8.
- Macro window will be opened.
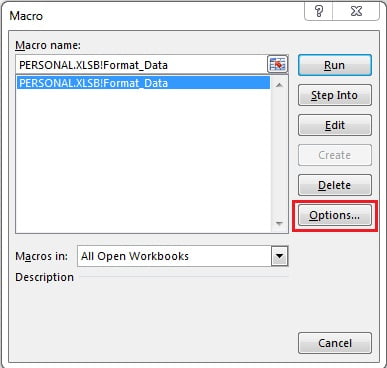
- Click on Options button.
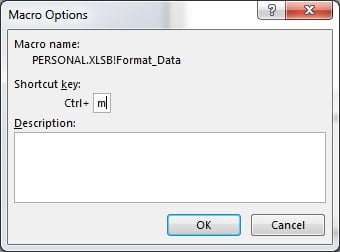
- Macro Options window will be opened.
- Put shortcut key as Ctrl+m.
- Go to visual basic editor(Press Alt+F11).
- Go to file menu and save PERSONAL.XLSB
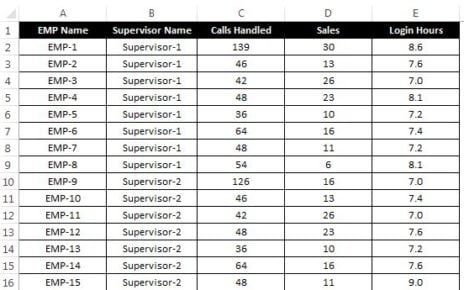
Let’s say we have below given data which is to be formatted.
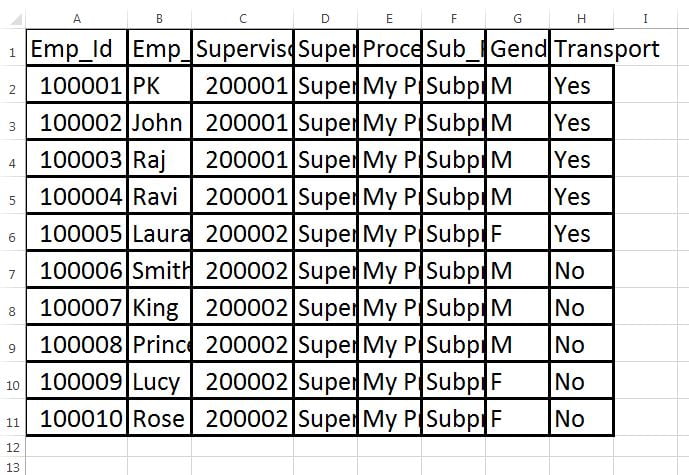
- Select the above given data and press Ctrl+M.
- Below given confirmation message box will be opened. Click on Yes button.
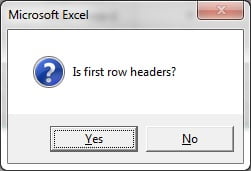
- Data will be formatted like below given image.

Let’s take another example to format below given data-
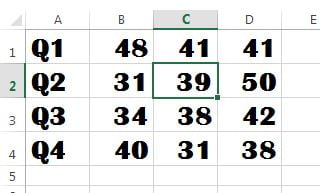
- Select the data and press Ctrl+M.
- Click on No on confirmation message.
Data will be formatted without headers as given in below image.

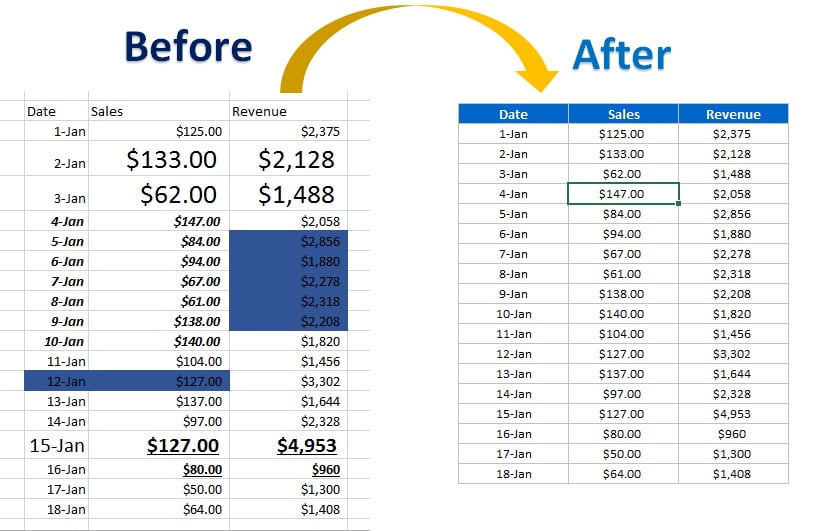
If the data is available in middle of the worksheet and it has some cell background color, bold font, different font size etc.
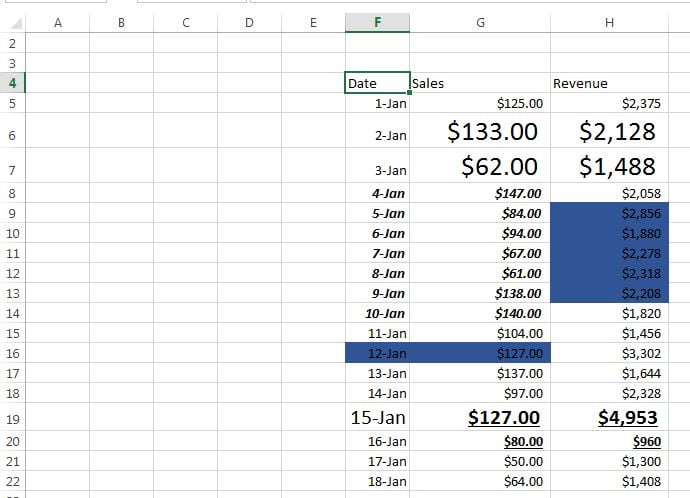
- Select the data and press Ctrl+M.
- Click on Yes in header confirmation message.
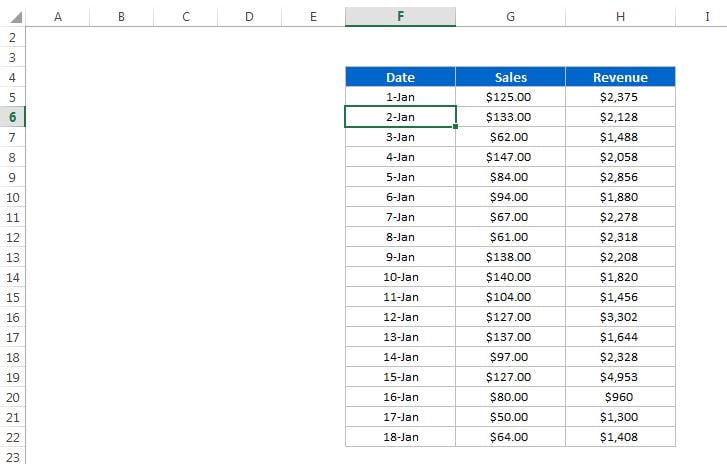
Click here to download the practice file
Watch the video tutorial how to create a personal macro
Visit our YouTube channel to learn step-by-step video tutorials
