In Excel, checkbox in Different Conditions are an incredibly versatile tool that can simplify how you manage and track data. In this post, we’ll dive into a practical example of using checkbox in Different Conditions with the IF function in Excel to track the status of different products. By the end of this guide, you’ll have a clear understanding of how to automate the display of targeted statuses (like “Done” or “Pending”) based on checkbox in Different Conditions.
Let’s get started!
What You’ll Learn in This Article
- How to set up and use a checkbox in Excel
- How to combine the IF function with checkboxes
- How to automatically update status based on checkbox conditions

Understanding the Dataset
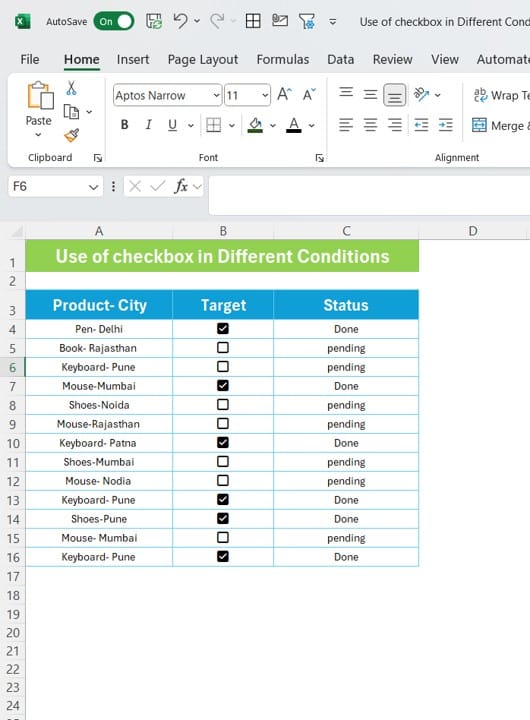
We have a simple dataset with three key columns:
- Product-City: Lists the product and its respective location.
- Target: This column contains checkboxes that represent whether a task is completed or not.
- Status: This column will automatically update to “Done” or “Pending” based on whether the checkbox in the Target column is checked.
The Dataset Layout:
- Product-City:
- Target:
- Status: Column
What We Want to Achieve
We want to create a system where the status of each product is automatically updated to either “Done” or “Pending” depending on whether the corresponding checkbox in the Target column is checked or unchecked. This is where the IF function comes into play.

The Formula in Action
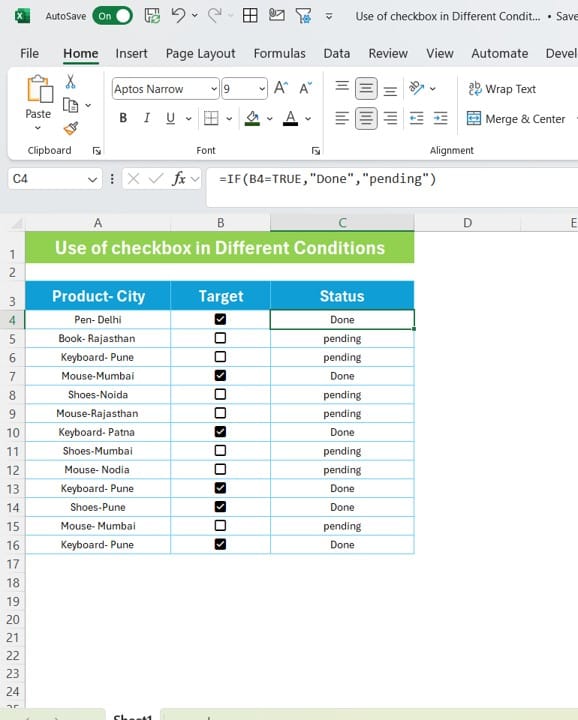
To automatically update the Status column based on the checkbox, we can use the following formula:
=IF(B4=TRUE, “Done”, “Pending”)
This formula checks the value in column B. If the checkbox (represented by TRUE or FALSE) is checked, the formula will return “Done.” If the checkbox is unchecked, it will return “Pending.”
Example Breakdown:
- TRUE (Checked): The formula will return “Done.”
- FALSE (Unchecked): The formula will return “Pending.”
Step-by-Step Guide: Setting It All Up
- Add Checkboxes: In the Target column, insert checkboxes for each product using Excel’s form controls.
- Apply the IF Formula: In the Status column (starting from C4), input the formula =IF(B4=TRUE,”Done”,”Pending”) and drag it down to apply it to the entire range of data.
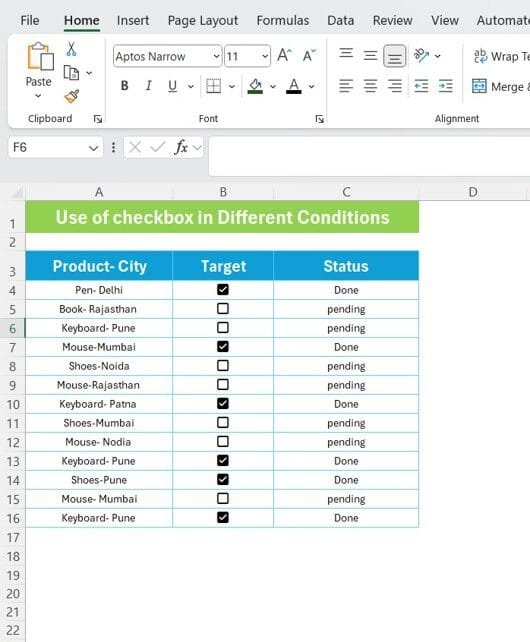
- Watch the Magic Happen: As you check or uncheck the boxes in the Target column, the status will automatically change!
Why This Method is So Useful
Using checkboxes with the IF function can save you a lot of manual work. Instead of updating statuses manually, Excel will do it for you based on simple checkbox in Different Conditions . It’s a great way to manage tasks, track project statuses, or even monitor inventory.
Final Thoughts
This example highlights how easy it is to automate tasks in Excel using checkboxes and the IF function. By setting this up, you’ll not only save time but also avoid potential errors that come with manual data entry. So, the next time you need to manage statuses or keep track of tasks, don’t forget to make use of this powerful Excel feature!
Want to dive deeper? Watch our full YouTube video where we demonstrate this step-by-step: Use of Checkbox in Different Conditions in Excel.
Visit our YouTube channel to learn step-by-step video tutorials
View this post on Instagram
Click hare to download the practice file


