Are you looking for a simple way to combine text from different columns in Excel? You’re in the right place! In this article, we’ll dive into how to use the CONCATENATE function in Excel, perfect for merging first and last names into a full name or combining other data efficiently. Stick with me, and by the end of this post, you’ll feel like an Excel pro.
What is the CONCATENATE Function?
The CONCATENATE function in Excel allows you to join multiple strings of text together. This can be super useful when you have separate pieces of information—like a first name in one column and a last name in another—and you want to create a full name in a third column.
Example Data for CONCATENATE Function
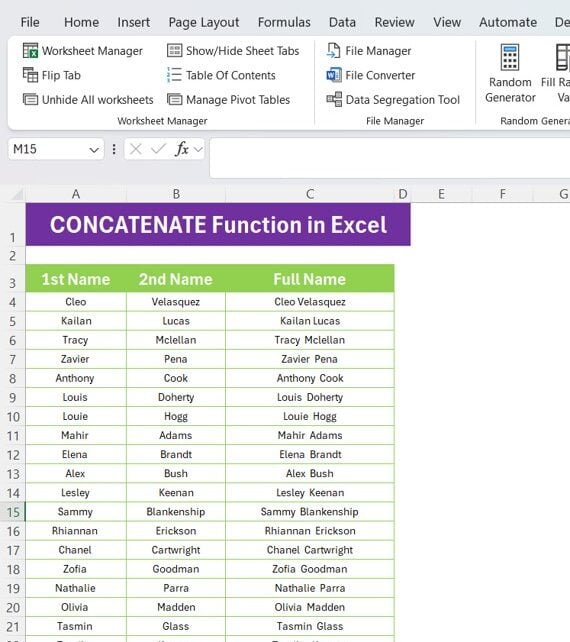
To explain how the CONCATENATE function works, we’ll use the following data set. Imagine you have three columns: one with the first name, one with the second name, and a third column where you want the full name to appear after using the CONCATENATE function.
We have 19 names in total, but I won’t list them all here. Now, let’s dive into how to combine the first and second names using the CONCATENATE Function in Excel.
How to Use the CONCATENATE Function Step-by-Step
Here’s the step-by-step process to combine the first and second names into full names in Excel.
Step 1: Select the Data Range
Our example has three columns:
- First name is in Column A (A3)
- Second name is in Column B (B3)
- The full name will be displayed in Column C.
Step 2: Write the CONCATENATE Formula
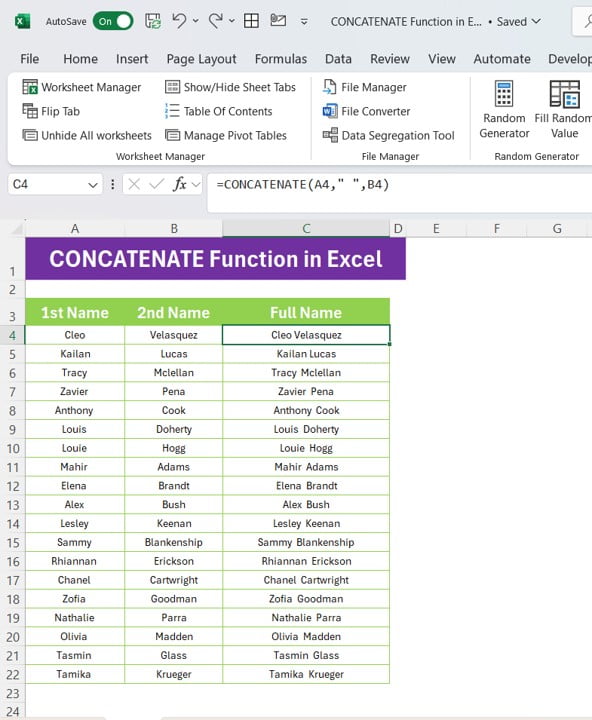
Now, we’ll use the CONCATENATE function to join the first and second names. Here’s the formula:
=CONCATENATE (A3, ” “, B3)
- A3: This references the first name.
- ” “: This adds a space between the first and second names.
- B3: This references the second name.
When you hit Enter, the full name will appear in the third column. Easy, right?
Step 3: Apply the Formula to the Entire Column
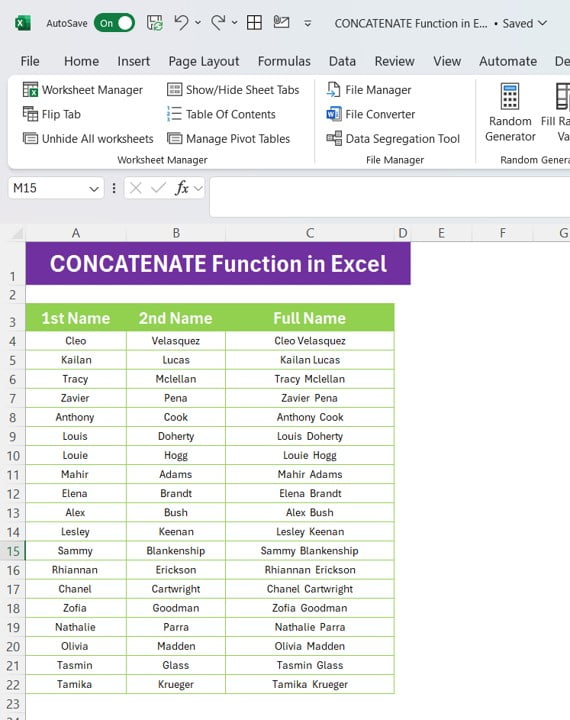
Once you’ve entered the formula for the first row, you can drag the formula down the entire column to combine all names in the data set. You’ll end up with something like this:
Why Use CONCATENATE?
You might be wondering, “Why should I use CONCATENATE when there are other ways to combine data in Excel?” Well, here’s why:
- Saves time: Instead of manually typing full names or other combined data, CONCATENATE does the work for you.
- Customizable: You can add any text in between—like commas, spaces, or even phrases—making it incredibly flexible.
- Error-Free: Reduces the chance of manual entry errors, especially when working with large data sets.
Tips and Tricks for CONCATENATE
Now that you’ve got the basics down, here are a few tips to take your Excel skills to the next level.
- Combine Text and Numbers: CONCATENATE isn’t limited to just names. You can also combine text with numbers. For example, adding “Item” in front of a product code.
=CONCATENATE (“Item “, A2)
- Use with Other Functions: You can combine CONCATENATE with other functions like UPPER, LOWER, or PROPER to format the text.
=CONCATENATE(PROPER(A2), ” “, PROPER(B2))
- Shortcut: Excel introduced a new function called TEXTJOIN that simplifies this process even more, but for now, CONCATENATE gets the job done!
Conclusion: Start Concatenating Like a Pro!
And there you have it! The CONCATENATE function in Excel is a powerful tool for merging text, and once you get the hang of it, you’ll wonder how you ever lived without it.
Whether you’re dealing with names, product codes, or any other type of data, CONCATENATE makes it simple and efficient. So next time you’re working in Excel, give it a try, and watch how much faster your work becomes.
Feel free to watch the full video tutorial on How to Use the CONCATENATE Function in Excel here and let me know your thoughts in the comments below. Happy Excel-Ing!
Visit our YouTube channel to learn step-by-step video tutorials
View this post on Instagram
Click hare to download the practice file