Are you struggling with splitting text in Excel? Don’t worry—this guide is here to help you master the TEXTSPLIT Function in Excel ! We’re going to break it down in simple steps so you can use it to save time and make your work more efficient. Let’s explore how to split names, ages, and locations from a single column into multiple columns with ease TEXTSPLIT Function in Excel.
What is the TEXTSPLIT Function?
First off, let’s understand what the TEXTSPLIT Function in Excel does. Essentially, it’s a function in Excel that helps you break apart or “split” a block of text based on a separator—like a comma, space, or any other symbol. This can be a huge time-saver when you need to separate data that’s been crammed into one column.
For example, if you have names, ages, and locations all combined in one cell, you can use TEXTSPLIT Function in Excel to split them up into separate columns automatically. Sounds handy, right? Let’s take a closer look.
Why Should You Use TEXTSPLIT?
You might be wondering, “Why not just do it manually?” The answer is simple: TEXTSPLIT Function in Excel saves time, reduces errors, and makes your work easier. When you’re working with large datasets, doing it by hand could take forever. Plus, the more you do it manually, the higher the chance for mistakes. Using TEXTSPLIT ensures accuracy and speed.
Now, let’s dive into how this works with a real example!
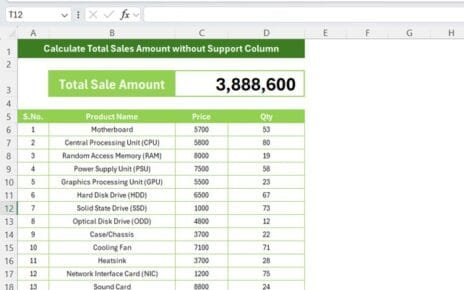
Our Example: Breaking Down Data into Name, Age, and Location
In this example, the names, ages, and locations are all packed into a single cell. Wouldn’t it be easier if each piece of information was in its own column? That’s where the TEXTSPLIT function comes in.
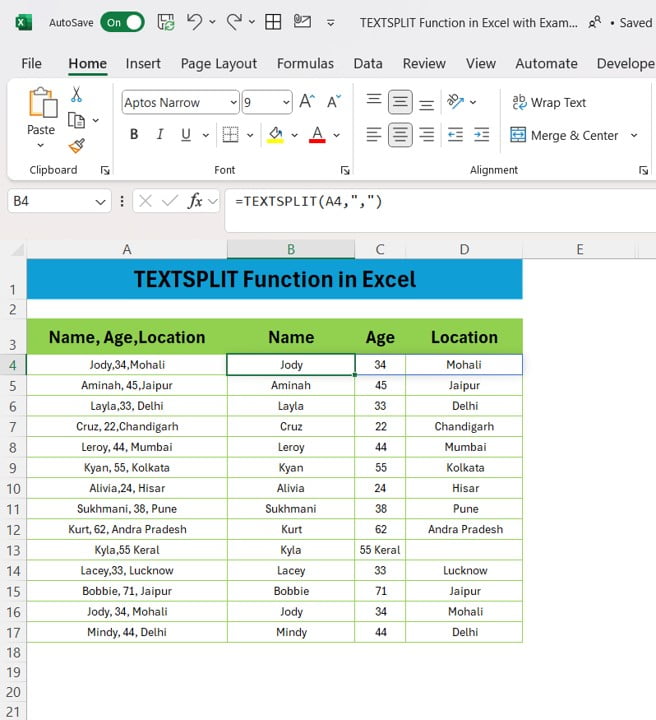
The TEXTSPLIT Formula
Here’s how we can use TEXTSPLIT to break apart the data:
=TEXTSPLIT (A4, “,”)
This formula is telling Excel to look at cell A4 (which contains “Jody, 34, Mohali”) and split the text into three parts using the comma, as a separator. Excel will then automatically put the name, age, and location into separate columns.
Step-by-Step Instructions:
- Click on the cell where you want to split the text.
- Type the formula =TEXTSPLIT (A4, “,”) into the formula bar.
- Press Enter to let Excel do the work for you!
- Drag the formula down to apply it to all rows in the dataset.
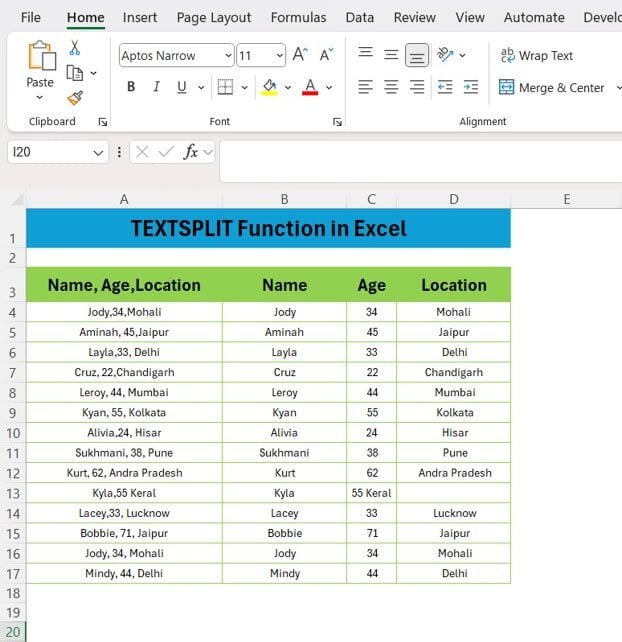
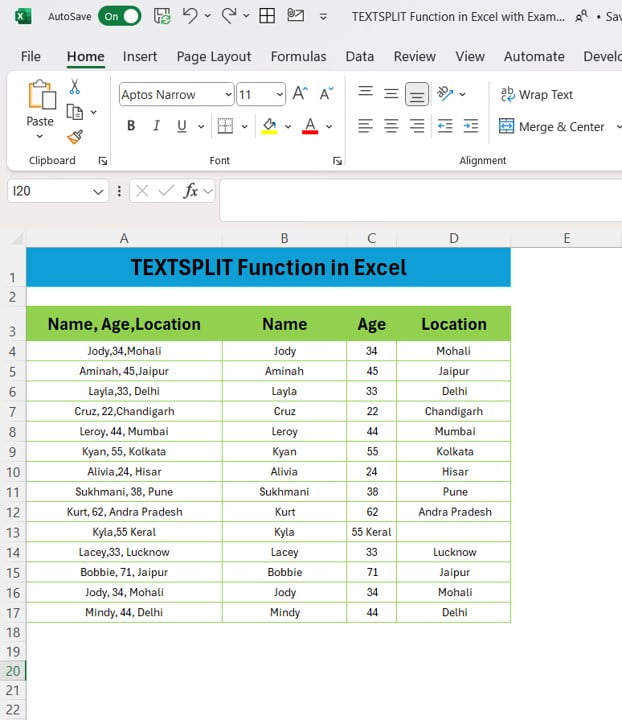
The Results: Name, Age, and Location in Separate Columns
After applying the TEXTSPLIT formula, your data will look like this:
Pretty neat, right? All the data that was once cluttered together is now nicely organized into separate columns.
Why You’ll Love the TEXTSPLIT Function
Still wondering why, you should use this function. Here are three good reasons:
- Timesaving: If you’re working with a large amount of data, manually splitting text would take forever. TEXTSPLIT automates this process and does it in seconds.
- Error-Free: Manual work increases the risk of mistakes, but TEXTSPLIT Function in Excel gives you clean, error-free results.
- Flexible: This function works with different types of data—whether it’s names, addresses, or other information—making it super versatile for many tasks.
Wrapping Up
The TEXTSPLIT function is your go-to tool for breaking down text into manageable pieces in Excel. Not only does it save you time, but it also makes your data clearer and easier to work with. Why waste time doing things manually when Excel can handle it for you?
Ready to give it a try? Open your Excel sheet, use the TEXTSPLIT formula, and see how easy it is to split your data! And if you want to see a visual tutorial, don’t forget to check out our YouTube video for even more tips.
If you found this post helpful, be sure to subscribe to our YouTube channel for more Excel tips and tricks. We’re always sharing new ways to make your work life easier, so stay tuned!
Visit our YouTube channel to learn step-by-step video tutorials
View this post on Instagram
Click hare to download the practice file